
If you have not yet set your WiFi network SSID/PASS to qNinjaLite. Go to AP Mode first.
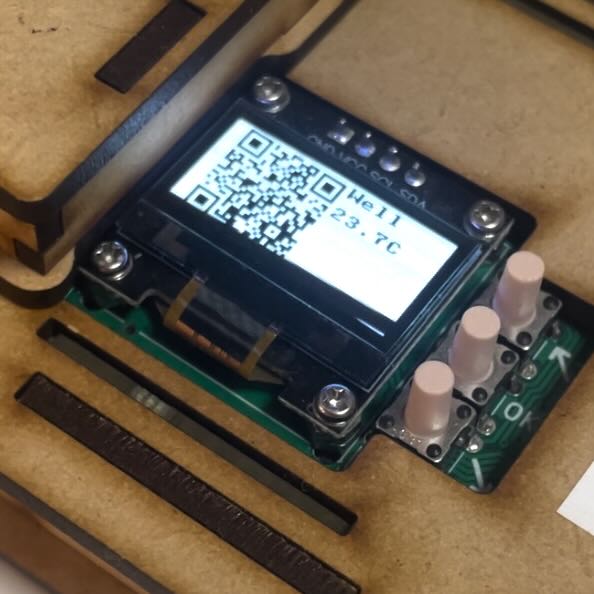
Just turn on the device without pressing any button. It will take about 15 seconds to launch in Normal Mode. Device will show QR and well temperature when it is ready. If it cannot connect to WiFi, it starts in AP Mode instead. Check WiFi settings in that case.

By future update, standalone operation will be supported and you can select which protocols to run and start it by tapping buttons but let’s use it remotely for now. Open web console https://q.hisa.dev in any web browser. No need to be in same WiFi network🎉 because qNinjaLite and your browser communicates over internet.

Login with username, password and ThingID we have sent. Check the “Automatic login” checkbox if you want to keep logged in the next time. You can return to login by tapping Logout.

Status of your device is always displayed on the top bar in real time. You can operate it if it is online.
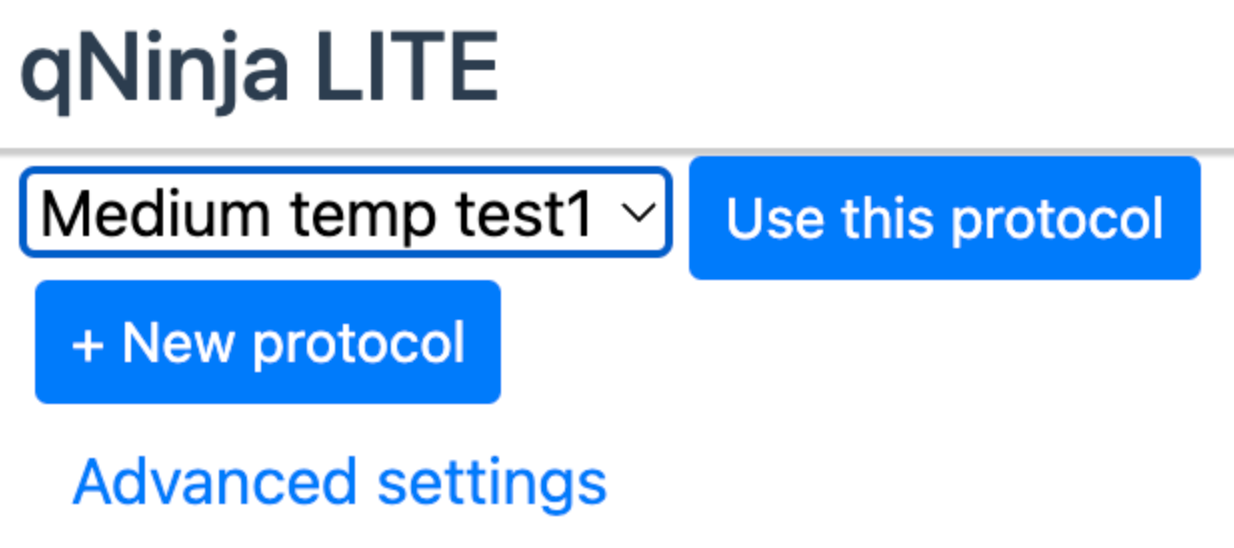
Preset protocols are listed in a dropdown menu at the top of the screen. Select one and press Use this protocol button. No need to touch Advanced Settings. It is used to rewrite PID constants for heater control.

If you want to create a new one, press +New protocol button.
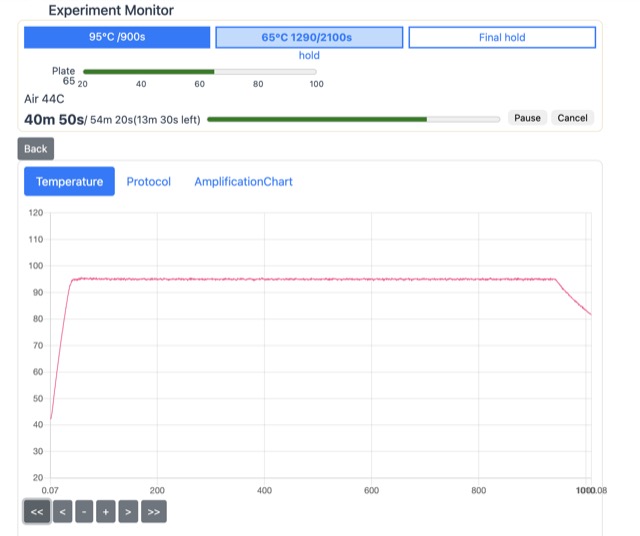
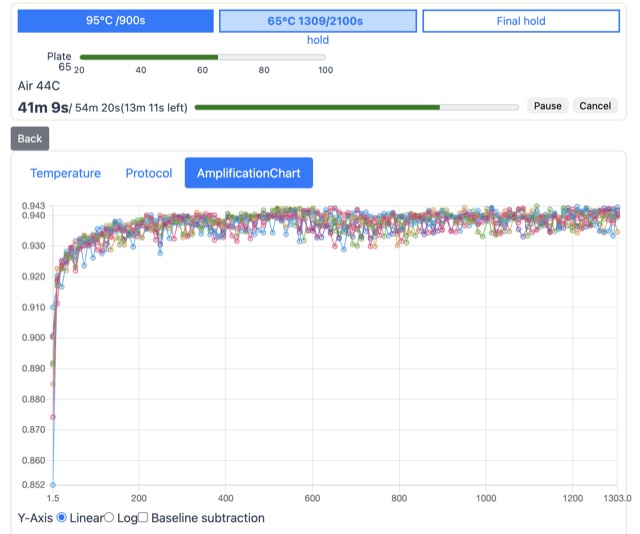
Press the Run button to start the experiment. If the device is offline, this button will be inactive. The experiment monitor will open. The main part of the monitor has temperature, protocol and amplification tabs.

After the experiment is complete, a prompt will pop up. Stop the device by pressing the Stop the device button. Even without pressing the button, all data are already stored in cloud servers. You can unplug the AC adapter to turn off the device anytime.
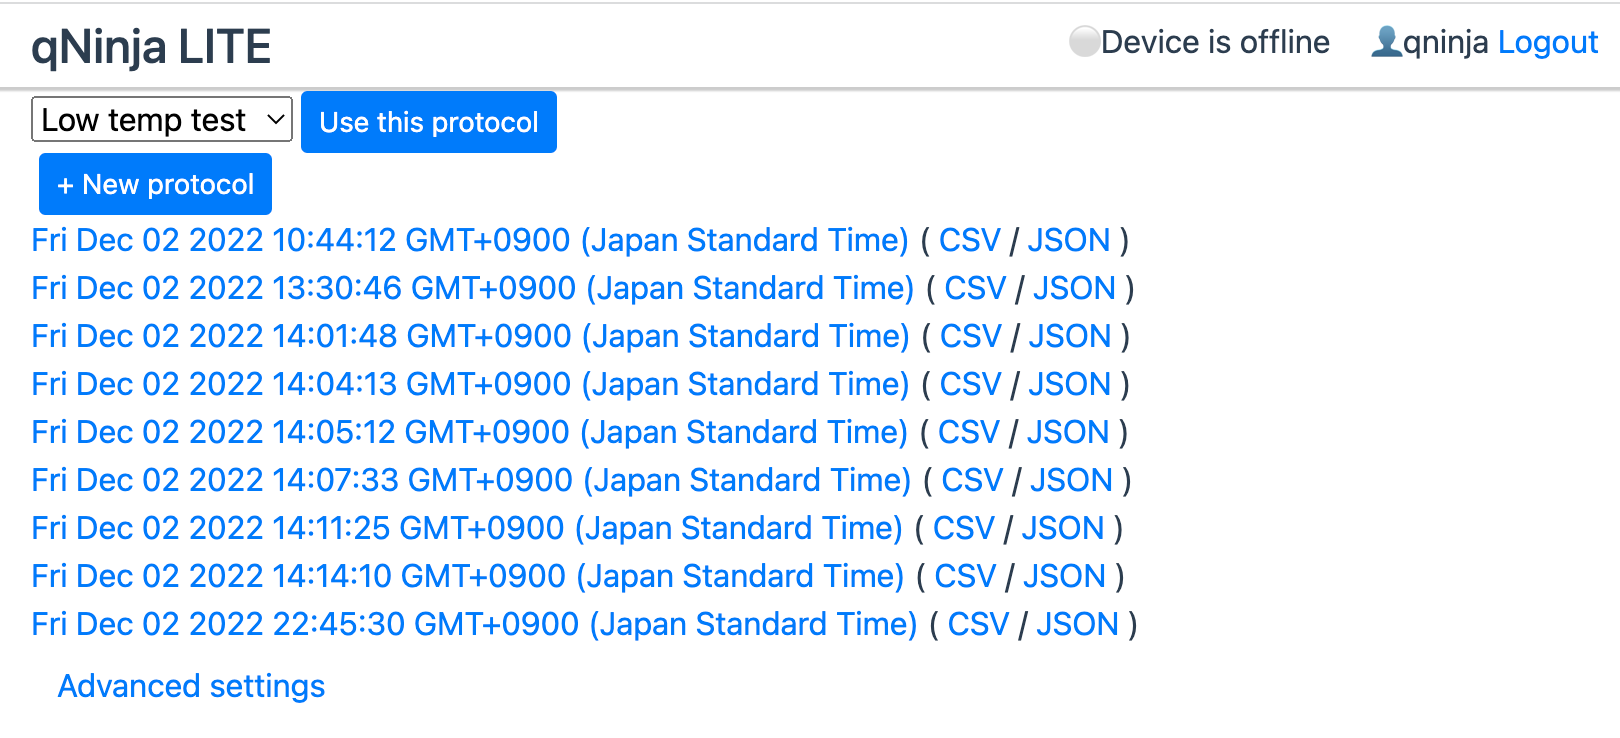
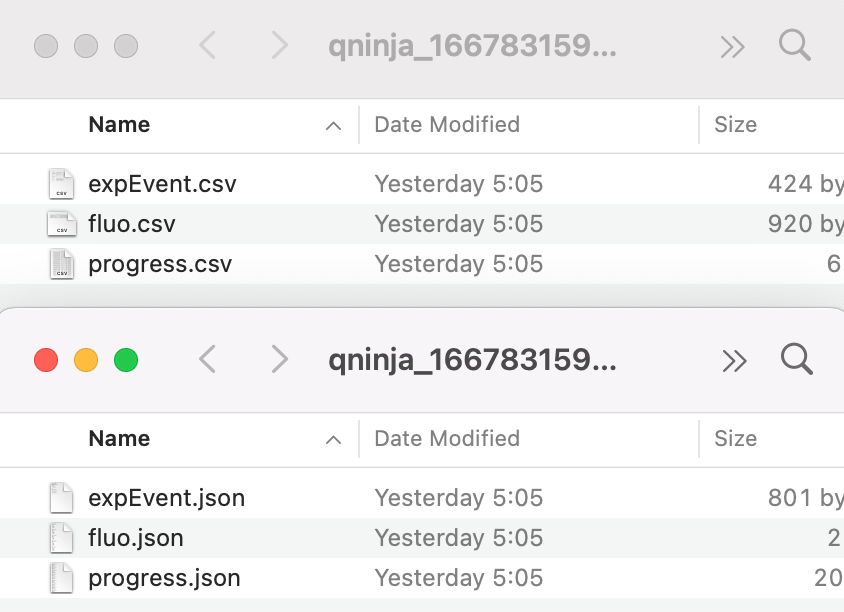
You can download all data anytime, even the experiment is still running. 3 files are compressed into one gzip file. Here are samples in CSV and JSON format.