Prepare Woods and Laser Cutter
It’s possible to use plywood but MDF is better in smooth surface and durability. qNinja is designed to use 5.5mm thickness and qNinjaLite uses 2.5mm. Contact me if you need 1/4″(6.35mm), 1/8″(3.18mm) and other models but think about using planer at fab spaces or somewhere around you first as it’s fun and worth to try. If wood is bigger than the work size of your laser cutter, you must cut it into proper size in advance. Your laser cutter must have enough power to cut the woods. I’m using 30W CO2 laser to cut 5.5mm. Don’t choose “Fiber Laser” nor “Engraving Machine” if you search web to buy. You should confirm the seller if it’s not clear.
Combine DXF to lasercut
Ok now you have MDF board with proper thickness. Let’s prepare lasercut data. All parts DXF data of qNinja are opensourced and Most of lasercutter supports DXF or PDF. Check the work size and required format of your lasercutter first. Layout all parts and combine them into one using Inkscape or other softwares.
DXF of qNinja Lite
Open GitHub:cad/2d/dxf/t2.5 directory. Combine all data into one. body_top_2x8.dxf is not needed if you want to make 1×8 and vice versa.
DXF of qNinja
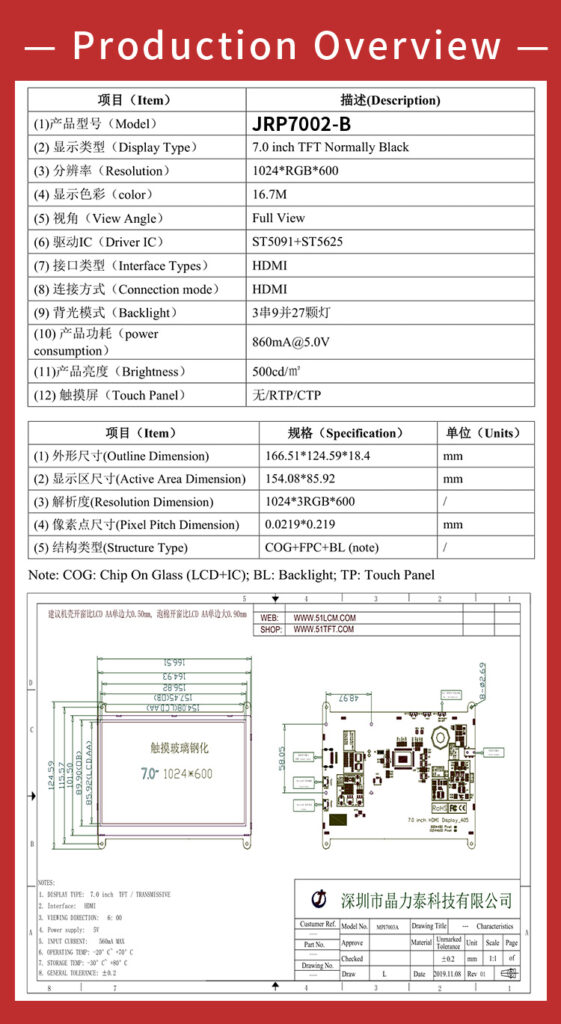
Open GitHub:cad/2d/dxf-ver(latest) directory. You will see 3 directories named common, jlt-7inch and raspi. If you choose cheaper JRP7002 touchscreen or its compatible products like JRP7003 at Aliexpress, use DXFs in common and jlt-7inch. If you prefer official Raspberry Pi Touch Display, common and raspi are yours.

Lasercut
Just read the instruction of your laser cutter. Test its settings first. Then cut them all. Conglaturations, you get all wooden parts for your own qNinja by yourself.